
Widgets, privacy and your account
Export or delete your Penge data
Three actions live on the Account screen: a full export of your data, a bulk delete of old transactions, and deleting the account. Two of them cannot be undone.
How do you get a copy of your data?
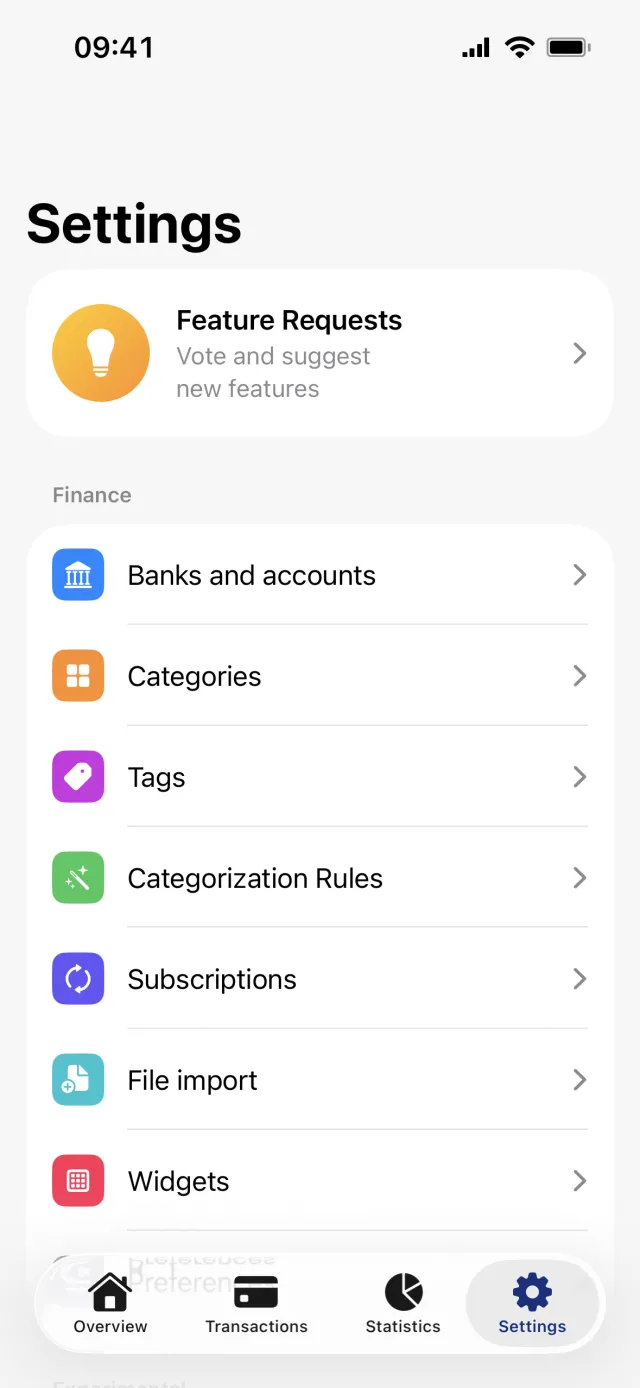
Open the Settings tab, tap My Account under Support, then Download your data. Tap Create export and wait, then tap Share or save to put the zip wherever you want it. Nothing is emailed and no link is sent.
Download your data
- Open the Settings tab and tap My Account under Support.
- On the Account screen, tap Download your data.
- On the screen headed Your data, tap Create export. The button reads Preparing your export while the server builds the file.
- Tap Share or save and pick a destination: Files, Mail, AirDrop, anywhere the share sheet offers.
- Create a new export runs the whole thing again.
Good to know
- The zip holds a PDF summary, a spreadsheet with sheets for transactions, accounts, categories, tags and budgets, a JSON file with the complete copy, and the statement files you uploaded. The What's inside card on the screen mentions neither the PDF nor the uploaded files.
- Uploaded files past a combined 25 MB are not packed into the zip. They are listed as download links that stop working after seven days.
- The export is written in your phone's language at the moment you tap Create export.
- Create export needs a connection, and there is no copy waiting on a server afterwards.
Delete old transactions
- On the Account screen, tap Delete old transactions, the second, red row.
- Tap the month you want to delete up to and including. That month and every earlier one turn red.
- Check the count in the bar at the bottom, then tap Delete.
- Confirm in the alert headed Delete transactions?
Good to know
- You pick an end month, not a range. Everything from your very first transaction up to and including that month goes.
- It removes transactions only. Banks, accounts, categories, tags and budgets are untouched.
- Reserved transactions are left out of the counts, because the bank rebuilds them on every sync.
- There is no undo, and the screen needs a connection to work.
Delete your account
- Export your data first, because Download your data disappears with the account.
- On the Account screen, tap Delete account, the third, red row.
- Read the warning: your account and all your data will be permanently deleted, and it cannot be undone.
- Tap the red Delete account button and confirm in the alert.
Good to know
- There is no grace period, nothing to type and no undo. Confirming removes your transactions, banks, accounts, categories, tags, budgets and feedback, and signs you out.
- Deleting the account does not by itself end the consent you gave your bank. A scheduled job clears the leftover access at the provider afterwards.
- If the button stops spinning and nothing happens, the call failed without saying so. Check your connection and try again.
- Sign out is a different thing and sits at the bottom of the Settings screen. It leaves everything in place.
Something in your export looks wrong or incomplete?
Get in touch →Get a full overview with Penge
Connect your bank and let the app categorize and budget automatically.
Questions about this
- Does the export include the statements I uploaded?
- Yes, under a folder in the zip, up to a combined 25 MB. Anything above that is listed as a signed download link instead, and those links expire after seven days, so save the files soon after you make the export.
- Does deleting my account cancel my bank connection?
- Not at the instant you confirm. Your data in Penge goes immediately, and the access left behind at the open banking provider is cleaned up by a scheduled job afterwards. You can also withdraw the consent in your own bank at any time.
- What is the difference between signing out and deleting?
- Signing out only ends the session on that phone and stops notifications there. Everything stays on your account and comes back when you sign in again. Deleting removes the account and its data for good, with nothing to sign back in to.